
Custom Stencils for Repeatable Sign Production
Custom stencils turn one approved layout into repeatable painted graphics. Production quality comes from bridge planning, suitable stencil media, controlled registration, and a tested coating system.
Key takeaways
- Reusable polyester film and adhesive-backed stencil media solve different problems; choose by surface, detail, placement, and repeat count.
- Design bridges, stroke widths, and registration marks before cutting so the stencil remains stable and the finished lettering stays readable.
- A clean surface, close edge contact, and several light paint passes do more to prevent bleed than a heavy sealing coat.
- Test the cut settings, paint, cleaner, and removal timing on the actual substrate or a matching sample.
- LA Prime Signs works on production deliverables; field surfaces, final measurements, site access, and on-site stencil application remain with the customer and qualified trades.
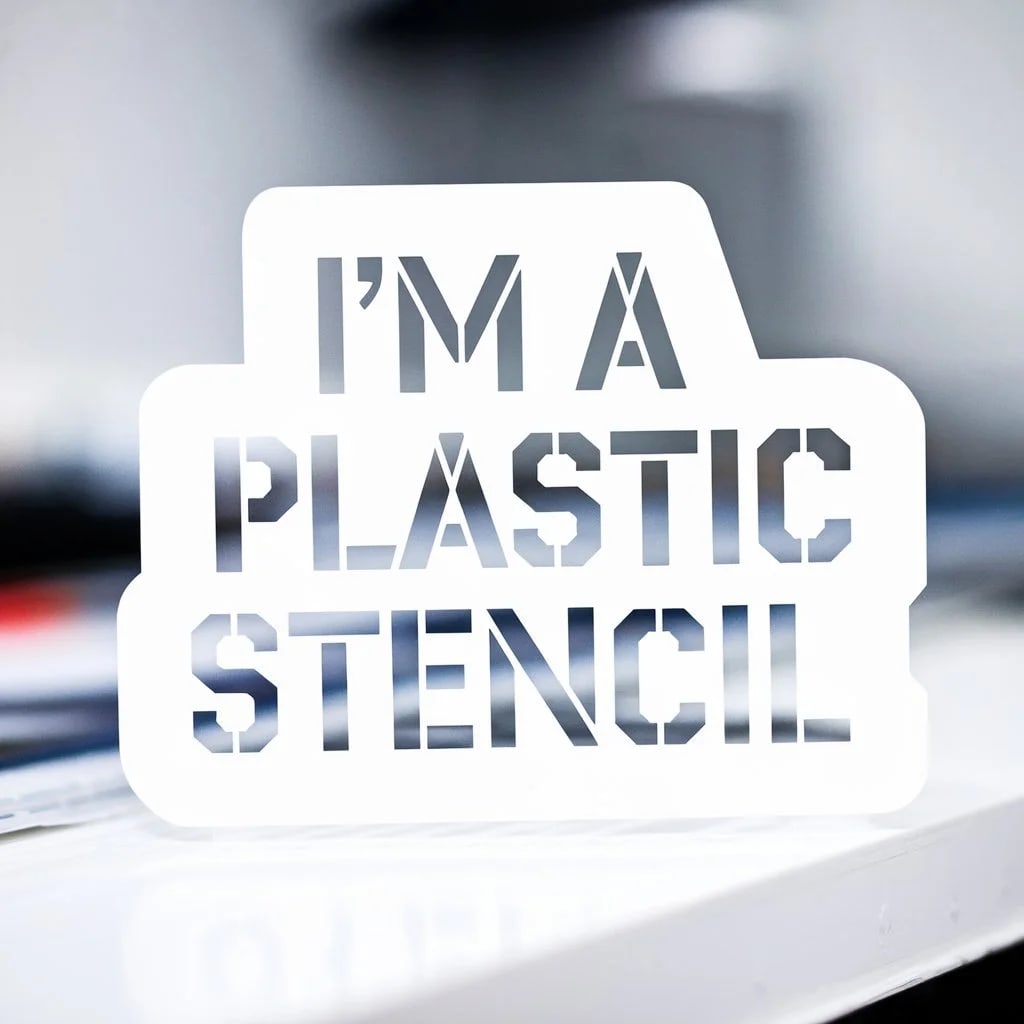
Custom stencils are useful when painted graphics have to repeat cleanly: a logo on a set of shop-produced panels, numbered components, event boards, or a consistent motif across an approved sign package. They provide process control without trying to imitate the character of freehand lettering.
This guide covers the production workflow from vector artwork and bridges through cutting, registration, coating control, cleanup, and reuse. LA Prime Signs does not survey, prepare, paint, or install at customer sites; field applications remain with the customer and qualified trades.
Why Use Custom Stencils for Sign Painting?
Stencils control letter shape, spacing, and placement across repeated applications. That can be valuable when several produced panels or components must follow one approved sign standard.
They also make it possible to transfer artwork to painted aluminum panels, wood, and other prepared production substrates without redrawing the layout each time. Stencils do not eliminate judgment: viewing distance, surface texture, paint behavior, and registration still determine the result. For a wall, door, floor, or other field surface, the customer and their painter or installer must determine compatibility and application controls.
How Do You Choose Stencil Material?
The material controls edge contact, flexibility, cutting detail, and reuse. Choose it for the job rather than assuming the thickest film is automatically the best.
- Polyester film: A durable, cleanable option for reusable stencils. The Stencil Ease material guide compares film thicknesses and applications; thinner film follows gentle curves more easily, while thicker film supports larger openings and repeated handling.
- Adhesive-backed stencil media: Useful for a one-time application where precise registration and close edge contact matter. Adhesive strength must suit the finish below so removal does not lift it.
- Acetate or similar thin sheet: Suitable for some short-run, low-detail work, but often less durable than polyester film.
- Heavier plastic sheet: Useful for large markings or repeated field use when the cutter, paint method, and surface are compatible with it.
How Do You Design Stencils for Sign Painting?
A usable stencil is not simply a logo with the shapes removed. It balances visual accuracy with enough structure to survive cutting, placement, and paint.
Keep It Structurally Sound
Enclosed counters in letters such as A, B, O, P, and R need bridges to connect them to the surrounding film. Place bridges where they disrupt the letterform least and make them wide enough for the material and scale. A bridge that survives on screen may still tear when a large stencil is lifted from a wall.
Choose Appropriate Fonts
Bold, open letterforms are generally easier to cut and paint than hairlines or tight counters, but the brand should guide the choice. Simplify detail only with approval. For complex logos, separate colors or enclosed shapes into registered layers rather than distorting the mark.
Balance Negative and Positive Space
The openings create the painted image, while the remaining film holds its geometry. Evaluate both. Narrow islands can buckle, and overly tight spacing can fill visually when the sign is read from the sidewalk or a moving vehicle.
Which Digital Tools Support Stencil Design?
Vector artwork lets the design scale cleanly and gives the cutter closed, editable paths. Common options include:
- Adobe Illustrator: vector path editing and production-file preparation
- CorelDRAW: vector layout tools commonly used in sign workflows
- Inkscape: an open-source vector editor suitable for many stencil layouts
Do not send an automatic image trace straight to the cutter. Remove duplicate nodes, close paths, check minimum stroke and bridge widths, and print a full-size paper proof when scale matters. Add registration marks outside the finished art for multi-layer work.
How Do Cutting Machines Improve Stencil Quality?
Desktop cutters and commercial plotters can reproduce vector paths consistently, but cut quality still depends on blade condition, pressure, speed, mat or pinch-roller setup, and the stencil material.
Setting Up Your Cut
- Secure the material so it cannot skew or lift during the cut.
- Set blade exposure, pressure, and speed for the film and machine.
- Run a small test cut and confirm that the backing or mat is not being damaged.
- Reduce speed or simplify fragile detail when corners lift or small bridges distort.
A preset is only a starting point. Incomplete cuts can come from a dull blade or insufficient force; tearing can come from too much blade exposure, speed, or detail. Change one setting at a time and follow the cutter manufacturer's operating guidance.
How Do You Cut Stencils by Hand?
Hand cutting can work for a simple one-off test or a controlled adjustment by a trained producer. The tool maker's instructions and shop safety procedures control the setup, which generally includes:
- a sharp craft knife with the correct blade for the film
- a self-healing cutting mat
- a slip-resistant metal straightedge for straight cuts
- a printed or transferred layout that will not shift
Cut away from hands, use controlled passes, and replace a dull or damaged blade. Rotate smaller material for curves when that can be done safely. Ragged cuts and stretched corners become visible painted edges, so remake a damaged section rather than trying to hide it with more paint.
How Should Production Surfaces Be Prepared?
Surface preparation determines both edge quality and long-term adhesion. The cleaner and smoother the production panel's contact zone, the easier it is to control the paint. Existing site surfaces fall outside LA Prime Signs's scope and require separate evaluation by the customer and qualified field professional.
- Clean appropriately: Remove dust, grease, and residue with a cleaner approved for that substrate and finish. Some solvents can damage or craze acrylic sign faces, so check first.
- Prime when the coating system requires it: Raw wood, bare metal, masonry, and plastics have different preparation needs.
- Let the surface dry and cure: Moisture and an uncured base coat can weaken adhesion or lift when stencil media is removed.
- Assess texture: Brick, stucco, wood grain, and rough coatings will not produce the same edge as a smooth panel.
What's the Secret to Preventing Paint Bleed?
Bleed happens when liquid paint travels through a gap at the stencil edge. Improve contact, reduce the amount of paint, and keep the application motion from forcing coating sideways. The seal-first craft technique described by Making Manzanita can help on some painted boards, but the sealing material must be compatible with the base finish and top color.
The Seal-First Technique
- Test the stencil adhesive, base coating, and paint on a matching sample.
- Position the stencil and press the working edges into close contact.
- If the system allows it, apply a very thin pass of the background color or a compatible clear medium at the edge.
- After the sealing pass reaches the specified stage, build the sign color in light coats.
- Remove the stencil at the coating stage recommended for that paint, pulling it back at a low angle.
Do not assume a craft sealer belongs in an exterior commercial coating system. A test panel will show whether it changes sheen, weakens adhesion, or leaves a visible ridge.
How Do You Apply Paint Over Stencils?
Paint application matters as much as the cut:
- Use minimal paint: Offload a stencil brush or roller before it reaches the surface.
- Control direction: Pounce or roll lightly instead of brushing wet paint toward an opening's edge.
- Build thin layers: Several light passes are easier to control than one flooded coat.
- Watch fragile bridges: Work in a direction that does not lift narrow sections of film.
Choosing Paint Types
Choose paint for the substrate, existing finish, exposure, and application method. Waterborne acrylic sign paints work for many prepared surfaces, but not every acrylic formula adheres to every panel. Sprayed coatings require complete masking, ventilation, and the protective controls listed by the manufacturer. Exterior work needs a compatible exterior-rated system, not simply an indoor paint covered with clear.
What Advanced Techniques Elevate Stencil Work?
After the single-color process is repeatable, these techniques add range without giving up alignment.
Multi-Layer Stencils
Use a separate stencil for each color or shape group. Shared registration marks outside the finished graphic keep layers aligned. Plan overlap and trapping where tiny registration errors would otherwise leave a gap, and allow each coating to reach the required recoat stage.
Adding Texture and Dimension
Dry brushing, shadows, and compatible texture media can create depth, but raised coatings may bridge under the film or chip at an edge. Make the effect secondary to the message and test how it cleans.
Faux Finishes
Stencils can organize woodgrain, stone, tile, or other repeat patterns. Use them as a layout tool, then vary color and handwork so the result does not look like an obvious repeated tile.
How Do You Care for and Store Stencils?
Consistent care improves the next application:
- Clean promptly: Use only the cleaner recommended for both the paint and stencil film, with appropriate ventilation and protective equipment.
- Inspect the edges: Bent bridges, tears, adhesive residue, and coating buildup can shift the next print.
- Store without creases: Flat storage is preferable; large flexible sheets can be rolled loosely when the material allows it.
- Keep production notes: Record the version, scale, material, cutter settings, paint, and registration order.
How Does the Surface Change the Stencil Method?
Each substrate changes the preparation and edge result:
- Wood: Grain and pores affect the edge, so sand and prime to the level the design requires and seal all faces for exterior use.
- Metal: Remove contamination and use the specified pretreatment and primer. Aluminum panels and steel are different coating systems.
- Glass: Use a removable or permanent coating intended for glass and stencil media that will hold position without leaving residue.
- Fabric: Use a coating system made for the textile and follow its cure or heat-setting instructions.
- Textured surfaces: Expect a softer edge. Simplify fine detail and use controlled pouncing rather than flooding deep texture.
Creative Applications for Stenciled Signs
A repeatable stencil can support several kinds of sign work:
- Business signage: repeated branding across produced panels, display components, and approved sign faces
- Event signage: coordinated directional, menu, and identification boards
- Wayfinding: arrows, room numbers, loading instructions, and directional components produced from an approved schedule
- Decorative work: murals, pattern fields, props, and layered painted details
Ready to Plan a Repeatable Stencil System?
A good stencil makes approved artwork easier to repeat; it does not make every surface predictable. Scale, texture, exposure, paint compatibility, and removal timing still need to be resolved before production.
For a sign package with repeated painted elements, compare hand-painted sign production with an adhesive mask or cut-vinyl graphic. Then request a production quote with approved vector artwork, quantities, customer-verified final dimensions, intended substrate, finish, and exposure. Field measurements, existing-surface evaluation, site preparation, access, mounting, code decisions, and installation remain with the customer and qualified professionals.
FAQ
What material works best for a sign-painting stencil?
Reusable polyester film is a practical choice for repeated work, while adhesive-backed stencil media usually gives better edge contact for a one-time application. Thickness depends on detail, curvature, cutting method, and how many times the stencil will be used.
How do I prevent paint from bleeding under my stencil?
Clean and dry the substrate, keep the stencil tight to the surface, and apply very light coats without pushing paint sideways into the edge. On a compatible painted panel, a thin pass of the background color can help seal tiny gaps, but test the full system first.
Can I reuse stencils for multiple sign projects?
Many polyester-film stencils are reusable if they are cleaned with a product that will not damage the film and stored flat. Fine bridges and dried coating buildup limit reuse, so inspect alignment and edge quality before each application.
Should I use a cutting machine or cut stencils by hand?
A plotter or digital cutter is useful for repeatable vector artwork, while hand cutting can be practical for a one-off, simple layout. Either method needs a test cut, stable material, sharp tooling, and safe handling.
Does LA Prime Signs apply stencils on customer walls or floors?
No. LA Prime Signs provides production only. The customer and qualified painter or installer handle field measurements, existing-surface evaluation, site preparation, access, approvals, code requirements, and on-site application.